
Want to make your CapCut videos stand out with unique typography? Adding custom fonts to CapCut PC is a simple process that lets you infuse brand identity or personal style into your edits. This guide breaks down the entire workflow—from downloading safe fonts to using them in your projects—with verified steps for 2025’s latest CapCut version. No technical skills required, and we’ve included fixes for common issues like missing fonts or compatibility errors.
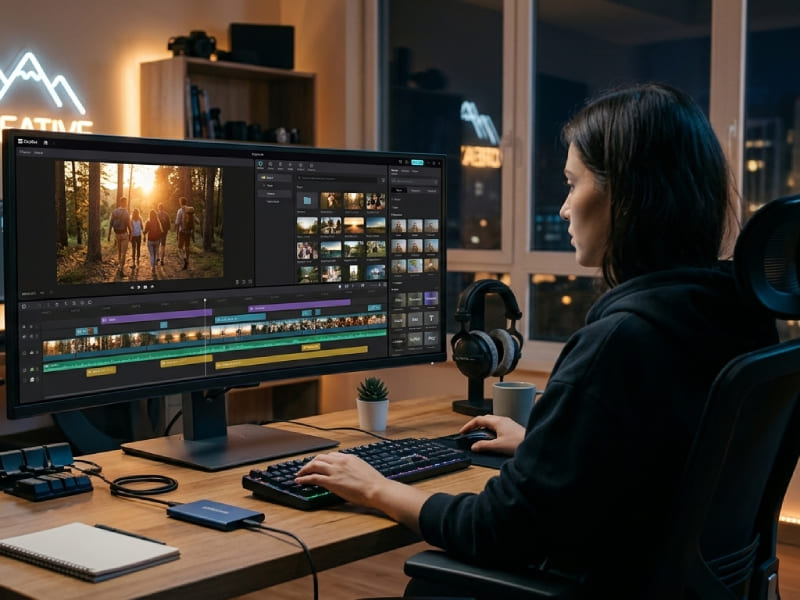
How to add your own font on CapCut desktop?
Adding custom fonts in the desktop version of CapCut is very simple because the desktop application automatically reads the system fonts installed on your computer. You don’t need to upload font files directly to CapCut’s resource library; simply install the font files on your Windows or Mac operating system, and CapCut will automatically recognize and load them.
Step 1: Download Your Desired Font
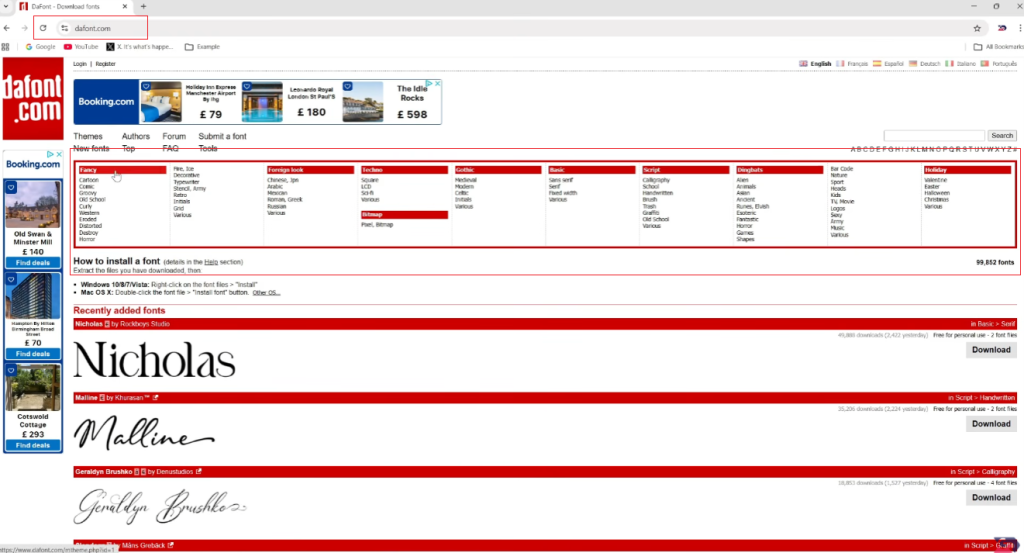
Visit reputable font websites (such as Google Fonts or DaFont).
Browse or search for the style you need.
Download the font package; font packages are usually provided as compressed .zip files.
Step 2: Extract and Install the Font File
Locate the downloaded file in the “Downloads” folder and extract it.
Find files with the .ttf (TrueType fonts) or .otf (OpenType fonts) extension.
Install the font on your operating system:
On Windows: Right-click the .ttf or .otf file and select Install (or Install for all users).
On macOS: Double-click the font file to open the Font Book preview, then click Install Font.
Step 3: Apply the Font in CapCut PC
Launch the PC version of CapCut (if the software is already open during installation, please restart it).
Open an existing project or create a new one.
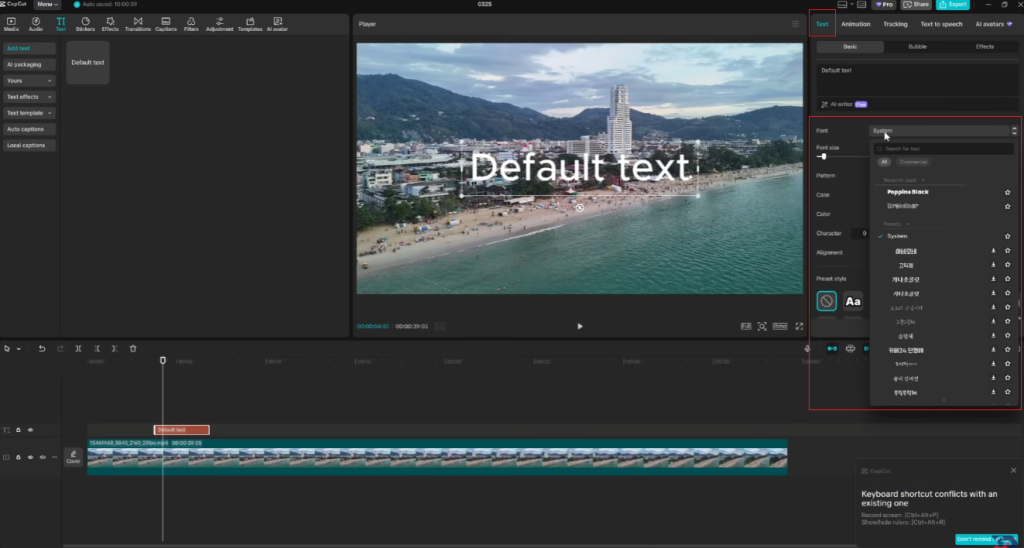
Drag the video into the timeline, and then click the “Text” tab in the top-left panel.
Select “Default Text” and drag it into the timeline preview area.
In the upper right panel, under the “Basic” Text tab, click the “Font” drop-down menu.
Locate the system font you just installed in the list and apply it to your text layer.
How to add Gujarati font in CapCut PC?
Adding regional language scripts such as Gujarati involves largely the same system-level processes; however, it is essential to ensure good Unicode compatibility so that characters can be displayed correctly, avoiding display errors or blank boxes.
Step 1: Download a Compatible Gujarati Font
Go to a font library that supports Hindi scripts (such as Google Fonts).
Search for popular and well-supported Gujarati font families, such as Noto Sans Gujarati, Mukta Vaani, or Shruti.
Download the font folder to your computer and extract the compressed file.
Step 2: Install the Gujarati Font
Open the extracted folder and find the font file in .ttf or .otf format.
On Windows, right-click the file and select “Install”; on macOS, double-click the file and install it via FontBook.
Step 3: Enable Language Input on Your Computer
To type Gujarati directly in CapCut, you need to enable the Gujarati keyboard layout in your operating system:
Windows: Go to Settings > Time & Language > Language & Region, tap Add Language, search for Gujarati, and add it.
macOS: Go to “System Settings” > “Keyboard” > “Input Source”, click the “+” icon, search for “Gujarati”, and then add the keyboard layout.
Step 4: Type Gujarati Text in CapCut PC
Open your CapCut desktop project.
Switch your computer’s input keyboard layout to Gujarati via the system tray or keyboard shortcuts (Win + Space on Windows, Control + Option + Space on Mac).
Add a text layer in CapCut and enter your text in the text box.
Select the text you have entered, click the “Font” drop-down menu in the upper right panel, and select the Gujarati font you have installed (such as Noto Sans Gujarati). At this point, the text will be updated immediately, presenting a standardized and aesthetically pleasing layout.
How to find font in CapCut PC?
CapCut for PC comes with hundreds of built-in styles and also supports using custom fonts from your system. If you’re unsure where to look, it can sometimes take some time to find the font you like.
Locating Custom System Fonts
Select any text segment on the editing timeline.
View the properties panel in the upper right corner, and go to the “Text” > “Basic” tab.
Click the font selection box to expand the full list.
CapCut categorizes fonts. Scroll down to find the “System Fonts” section (which may also be displayed as the “Local Fonts” tab depending on the version) to view all the fonts installed on your computer.
Searching and Filtering Built-in Fonts
Search Bar: At the top of the font selection menu, click the magnifying glass search bar, and then enter the exact name of the font you are looking for.
Categories: CapCut categorizes preset styles into different themes, such as “Popular,” “Handwritten,” “Modern,” or “Technology.” Click on these category tags to quickly filter out the built-in text options.
Favorites: Click the star icon next to your frequently used fonts to save them to the “Favorites” category at the top of the list, so you can easily access them in your future video projects.
By using a custom installation method and mastering CapCut’s built-in font menu, you can easily add unique font designs to your videos and gain support for different regional languages, thus achieving personalized creation.
What is OTF and TTF in fonts?
When you unzip a downloaded font package, you will usually see files ending with .OTF or .TTF. CapCut desktop version offers full support for both formats, but here’s a simple guideline:
OpenType Font (.OTF): A modern typography standard that offers superior vector scaling capabilities and supports advanced typography features. (Recommended)
TrueType Font (.TTF): Legacy standard with excellent compatibility across older systems and software.
Which should you install?
If the download package contains both formats, it is recommended to install the .OTF file for better scaling performance (especially in video projects). If only the .TTF file is provided, you can install it with confidence—it will also work perfectly in the PC version of CapCut PC.
Where can I download fonts for CapCut?
Before choosing a font for your video project, make sure you have the appropriate commercial license—especially if you plan to monetize your videos on YouTube or create content for clients. Here are some of the most secure platforms for obtaining high-quality fonts:
1. Google Fonts
Best for: Clean modern designs and 100% open-source versatility.
Cost: Free for both personal and commercial use.
Why use it: With full authorization, we can perform commercial video editing and undertake client projects without any legal risks.
2. DaFont
Best for: Thematic, decorative, retro, and stylized titles.
Cost: Mixed (Check individual license tags).
Why use it: A vast collection of creative styles. Note: Before using fonts in commercial projects, be sure to screen or check for the “100% free” label.
3. FontSpace
Best for: Fast searches with clear commercial license filters.
Cost: Free downloads with flexible license sorting.
4. Adobe Fonts
Best for: Professional editors with an active Creative Cloud subscription.
Cost: Included in Adobe CC plans.
Why use it: High-end font designs automatically sync to your desktop environment and are ready for immediate use in CapCut for PC.
How to Apply One Font Style to All Captions
When creating long videos, podcasts, or processing automatically generated captions, adjusting the style of dozens of text segments one by one is both time-consuming and laborious. CapCut PC version features a time-saving “Apply to All” function, helping you unify text styles across the entire timeline with a single click.
Step-by-step workflow:
Select a Text Clip: Click on any text or subtitle fragment on the timeline to open the “Text Properties” panel on the right.
Customize Your Style: Under the “Basic Text” tab, apply your newly installed custom font, adjust the font size, set the main fill color, and add readability enhancements such as strokes, shadows, or canvas backgrounds.
Enable “Apply to All”: Scroll to the bottom of the “Text Basic Properties” panel and check the “Apply to All” checkbox.
Instant Sync: CapCut automatically applies your chosen font, color, and formatting to all text segments on the current track.
Common Issues & Quick Fixes
If your custom font isn’t showing up in CapCut, try these solutions:
- Restart CapCut: Close and reopen the app—this refreshes the font library. Sometimes CapCut doesn’t detect new fonts until restarted.
- Verify font installation: Check your system’s font manager (Windows Fonts folder or Mac Font Book) to ensure the font is installed correctly. Reinstall if missing.
- Update CapCut: Outdated versions may have font detection bugs. Go to CapCut’s settings > “About” > “Check for updates” to install the latest 2025 version.
- Font search bar missing: This is often a regional or version issue. Update CapCut first—if the search bar still doesn’t appear, restart your PC/Mac to resolve UI glitches.
- Incompatible font format: Ensure you’re using .TTF or .OTF files. Other formats (e.g., .WOFF, .SVG) won’t work with CapCut PC.
Frequently Asked
Can I use custom fonts for commercial projects in CapCut?
Yes, but only if the font’s license allows commercial use. Always check the license terms on the site where you downloaded the font—Google Fonts and Font Squirrel have many commercial-free options.
Do I need to reinstall fonts if I update CapCut?
No. Fonts are installed on your system, not CapCut. They’ll remain available after app updates.
Can I delete the downloaded font file after installation?
Yes. Once installed, the font is stored in your system’s font library. You can safely delete the original download file to free up space.
Does CapCut Mod Apk for PC support custom fonts?
Yes. The process is identical to the standard version—install the font to your system, and CapCut Mod Apk will detect it automatically.