

Most people jumping into CapCut PC are just tired of spending hours on tedious frame-by-frame work. If you’re struggling with messy background removal or you can’t seem to get that “pro” color grade manually, the built-in AI tools are basically there to do the heavy lifting for you.

AI features you can use right now in CapCut PC
Cap Cut PC desktop version is packed with stuff that actually works without needing a degree in film editing. When you open up your project, these are the heavy hitters:
1. Automatic Subtitles
Auto captions are super useful for making your videos more accessible and professional.
Steps:
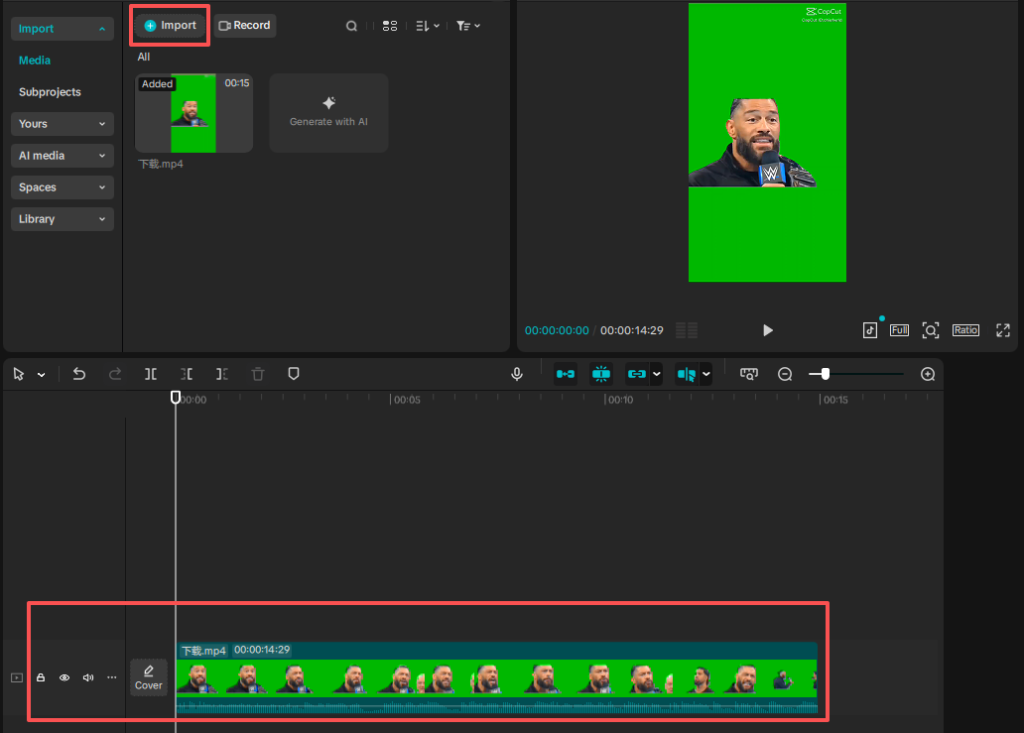
1.Open CapCut PC and add your video.
2.Drag the video to the timeline.
3.Go to the “Subtitles” section in the menu.
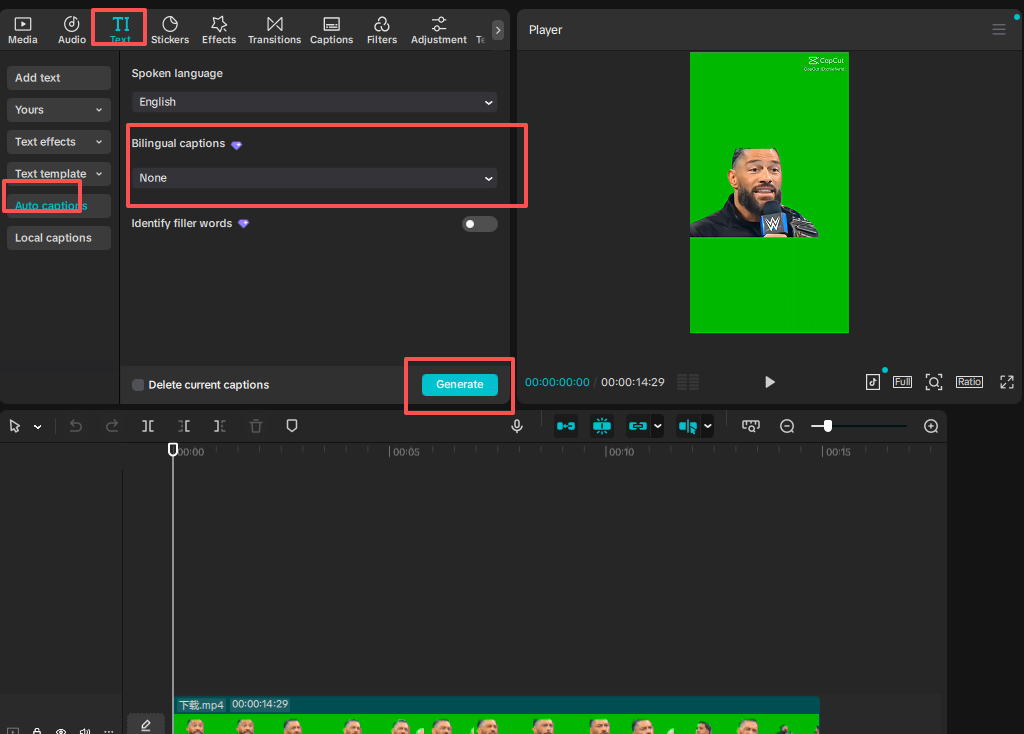
4.Click on “Auto-Generate Captions” and let CapCut do its magic.
You can edit the captions manually if needed, sometimes it gets a word or two wrong.
Pro tip: The captions usually work great, but if you have unclear audio or a strong accent, you might need to adjust a few things.
2. Background removal
If you’re recording a talking head video or just want to get rid of a distracting background, background removal is a game-changer.
Steps:
1.Import your video and drag it to the timeline.
2.Select your video clip and click on “Effects” in the right menu.
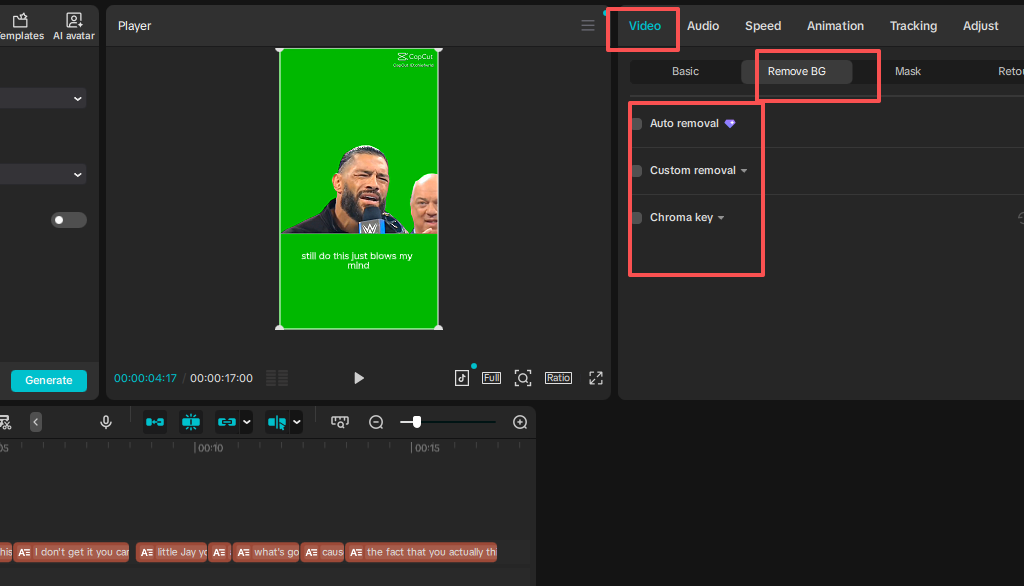
3.Choose “Background Removal” from the effects options.
4.CapCut will automatically remove the background. You can fine-tune the effect to make sure it looks clean.
Pro tip: Works best for simple, solid-color backgrounds. Busy or patterned backgrounds might not work as well.
3. AI voice / Text-to-speech
If you don’t have time to record your voice, AI voice or text-to-speech can help you out.
Steps:
1.Add your video to the timeline.
2.Go to the “Voice” section and choose “Text to Speech”.
3.Type in the text you want to turn into speech.
4.Choose a voice (male, female, or language) and click “Generate”.
Once the AI voice is generated, you can adjust the timing and sync it with your video.
Pro tip: AI voice works, but it doesn’t sound completely natural. You might need to tweak it to fit your style.
4. Auto color adjustment
If your footage looks flat or dull, auto color adjustment can give it a quick boost. It fixes the brightness, contrast, and color balance to make your video pop.
Steps:
1.Select your video clip in the timeline.
2.Click on the “Color” tab at the top.
3.Choose “Auto Adjust”, and CapCut will automatically enhance your video’s colors.
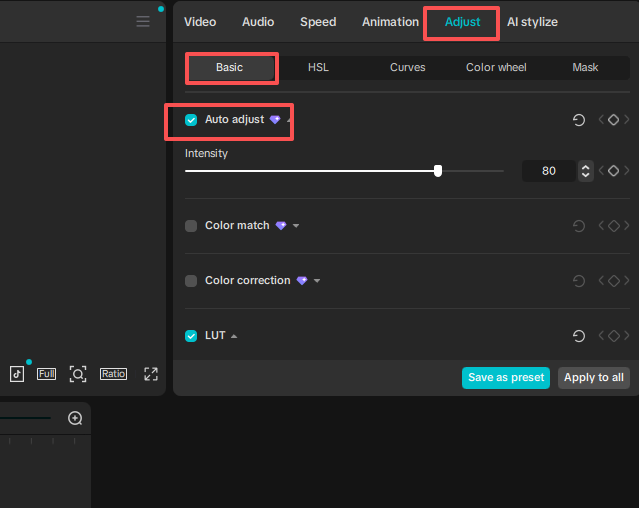
4.You can adjust the settings if it looks too intense or too mild.
Pro tip: Great for quick fixes, but sometimes it might be a bit too strong. Adjust as needed!
5. Smart effects
Smart effects are like little magic tricks for your video. CapCut PC applies effects automatically based on your video’s content, making it look cooler without any extra work.
Steps:
-
Add your clip to the timeline.
-
Click on the “Effects” tab.
-
Choose effects that match your video style, such as light trails, flash, etc.
-
CapCut will apply it automatically. You can adjust the intensity and duration of the effect to match the vibe of your video.
Pro tip: Smart effects are perfect for social media videos or content that needs a quick punch, but don’t overdo it. Too many effects can distract from your message.
Using AI tools to speed up your edits
AI tools in CapCut PC are designed to save you time. Here’s a typical workflow that people follow:
-
Import your video.
-
Turn on auto captions to save time on subtitles.
-
Apply a background removal if needed.
-
Use auto color adjustment for a quick fix.
-
Add smart effects to make it look cool.
This setup helps you get a polished video in just a few steps without spending hours editing. Sure, you’ll still need to tweak things manually, but AI helps with the heavy lifting.
Common video types people edit with AI
Not every video needs an AI makeover. From what I’ve seen, these types of content benefit the most:
| Video Type | Best AI Tool to Use | Real-World Result |
| Talking Head / Tutorials | Auto Captions + AI Relight | Saves hours of typing; makes your face “pop.” |
| Vlogs | Auto Adjust + Smart Movement | Vivid colors; less shaky footage. |
| Gaming Clips | Voice Changer + Noise Reduction | High-energy commentary; kills annoying fan noise. |
CapCut PC vs mobile for AI editing
You might wonder if it’s worth installing the Cap Cut desktop version. Honestly, for CapCut PC AI editing, Cap Cut PC wins every time. Mobile is fine for quick filters, but your computer’s graphics card is way better at processing things like “Body Effects” or 4K cutouts. Plus, having a big monitor lets you see if the AI accidentally cut off your ear in that background removal.
Mistakes beginners often make
Trusting the “Auto” button too much: Sometimes the AI makes the video way too bright. Always dial it back a little.
- Not double-checking captions: AI mishears words all the time, especially brand names or slang. Read through them once before exporting.
- Forgetting to save: AI processing can make the software crash if your RAM is low. Hit Ctrl+S constantly.
- Using old versions: If you can’t find these buttons, your software is likely out of date. Update it.
If you’re staring at a pile of raw footage right now, just try hitting those AI buttons first and see what happens. The process is confirmed—it really does cut your editing time in half.


