

Once you understand the complete process, uploading videos to YouTube using CapCut on your computer is very simple. The key is to ensure that the video is exported correctly from CapCut and then uploaded to YouTube using the correct settings. In this CapCut for PC Tutorial 2026, this guide will use simple, easy-to-understand language and practical advice to clearly explain each step.
Prepare Your Video in CapCut
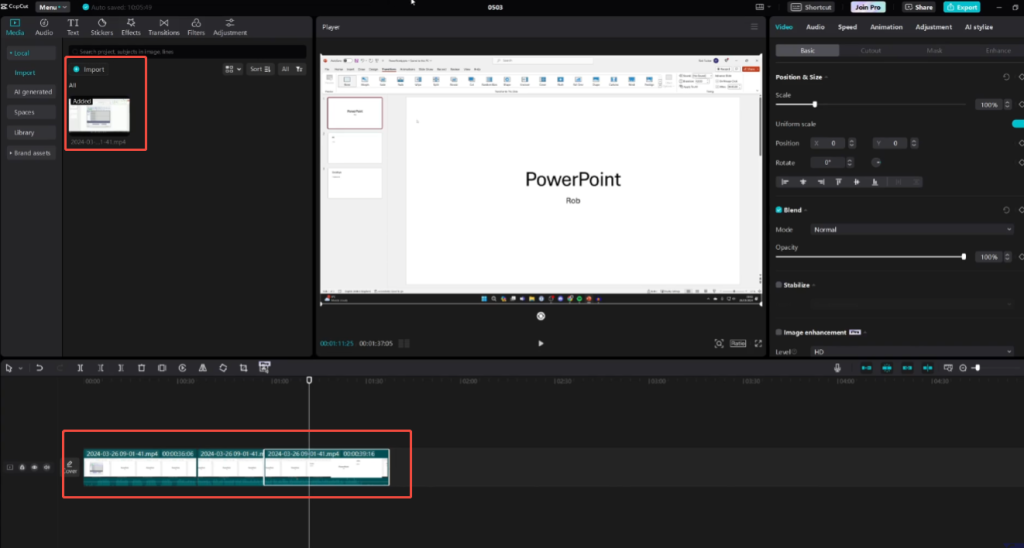
Before uploading your video, please ensure that it has been fully edited. Open CapCut on your computer and carefully check the timeline. Check the clips, transitions, text, music, and volume. It’s easier to fix small errors now than after the video is uploaded.
Pay attention to the aspect ratio and resolution of the video. For standard YouTube videos, a 16:9 aspect ratio works best. Most creators choose 1080p because it provides good image quality without generating excessively large files.
Once everything is ready, click the export option. Choose the MP4 format because YouTube supports this format well. Set the frame rate according to your project, typically 30fps or 60fps. Avoid using excessively high settings, as YouTube will reprocess the video.
After exporting, save the file to an easily accessible folder, such as your desktop or a dedicated video folder.
Log in to YouTube on Your PC
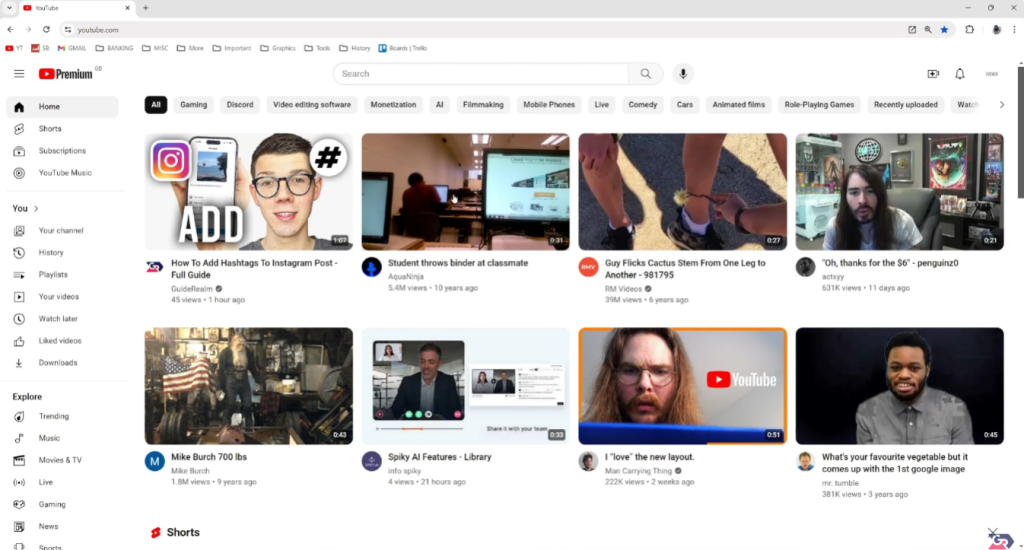
First, open a modern browser on your computer, such as Chrome, Edge, or Firefox. Visit the YouTube website and sign in with the Google account associated with your channel. If you manage multiple channels, please carefully check that you are logged into the correct channel before uploading videos.
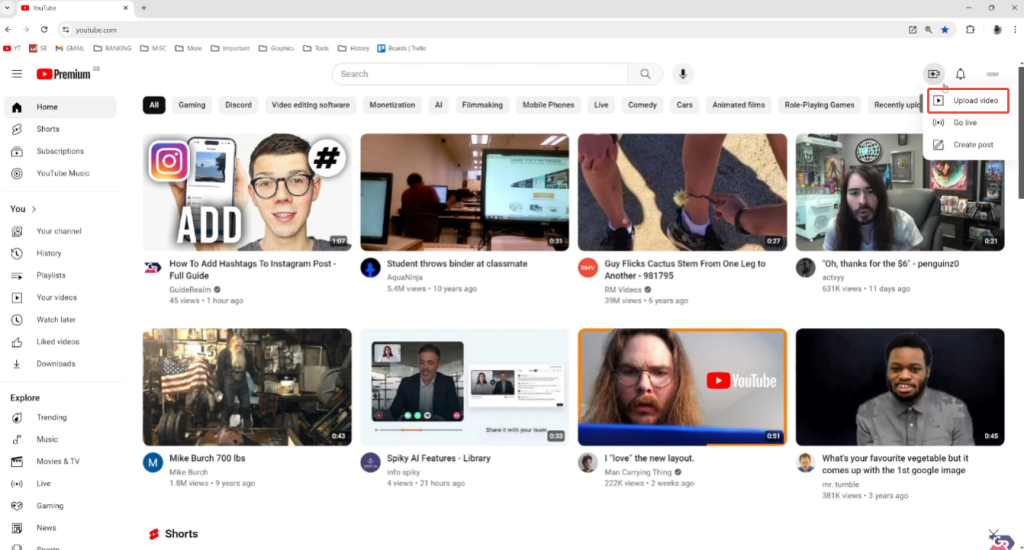
After logging in, click the profile icon in the upper right corner. This menu displays the channel you are currently using and provides access to the YouTube Studio. Accessing the YouTube Studio is crucial because it’s the main control panel for managing uploads, analytics, and video settings.
In YouTube Studio, take a moment to review your channel details. Check your channel name, profile picture, and default upload settings. This helps avoid mistakes such as uploading videos to the wrong channel or using incorrect visibility and audience settings defaults.
If this is your first time uploading a video from this computer, YouTube may ask you to complete basic verification, such as verifying your phone number. Completing this step unlocks longer upload times and other features, so it is recommended that you complete this step before you start uploading.
After confirming all the information, keep the YouTube Studio page open. You can now fully upload your CapCut videos without any interruptions or account issues.
Upload the CapCut Video File
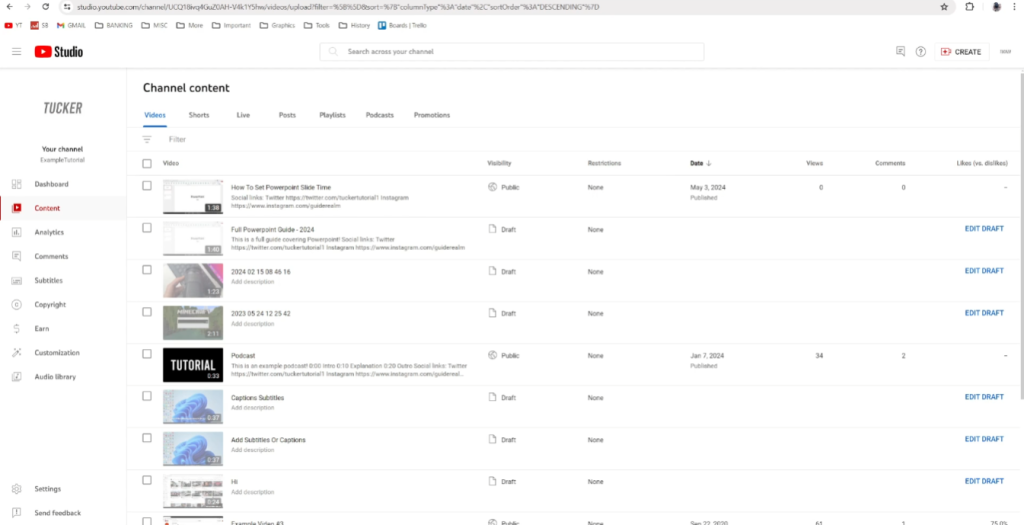
On the YouTube Studio upload page, you can add CapCut video files in two easy ways. The fastest way is to drag and drop the exported video file directly into the upload area. You can also click the “Select File” option to browse your computer and find the video file.
After the file is added, the upload video on YouTube PC process will start automatically. YouTube will display a progress bar to help you track the upload progress. Upload speed depends primarily on your internet connection speed and the size of the video file. Avoid closing your browser or switching accounts during the upload process, as this may interrupt the upload.
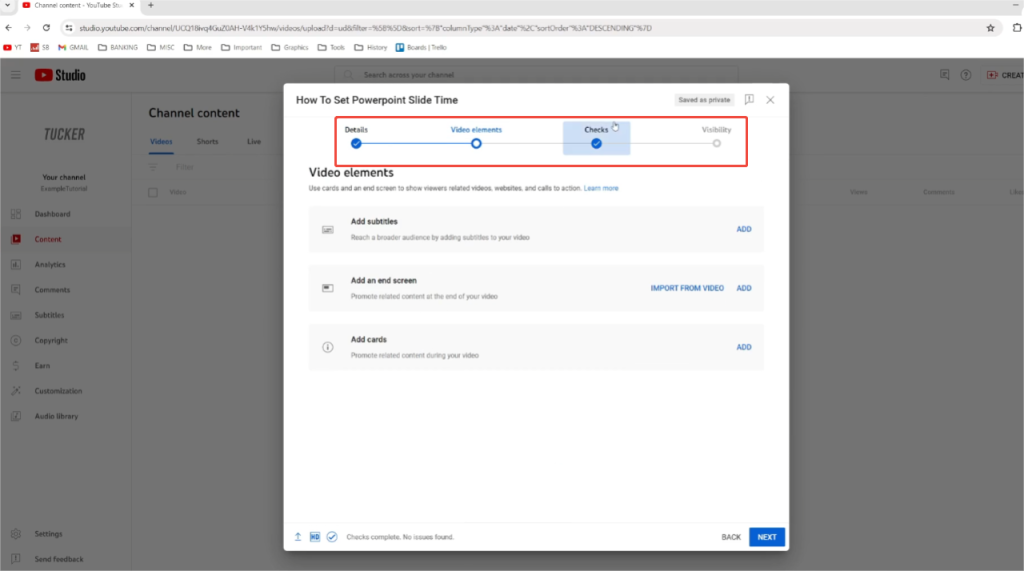
While uploading your video, YouTube allows you to fill in some important information. First, create a clear and natural title that matches what your audience will see. Then, write a concise video description explaining the video’s content. This helps viewers and search engines better understand your video.
You can also add tags and choose categories, which helps YouTube categorize your video appropriately. If you have chapters or links, you can add them to the video description now.
The uploading and processing process is carried out in stages. Even if the upload progress reaches 100%, YouTube may continue processing the video in the background. This is normal, especially for longer or high-resolution videos. Don’t worry if you can’t select the highest graphics settings for the time being.
After processing, please carefully check all details before proceeding to the next step. Taking a few extra minutes to check can prevent problems from occurring after the video is uploaded.
Adjust Visibility and Settings
After filling in the basic information for your video, YouTube will guide you through several important settings that will affect how your video is displayed and exposed. Spend a few minutes carefully setting it up, and the results will be remarkable.
First, choose whether your video is aimed at children. This choice is based on the video content itself, not the audience you wish to reach. Choosing the wrong option may restrict features such as comments or notifications, so please ensure it matches the video content.
Next, look at the visibility options. The “Public” option allows everyone to see the video and lets it appear in search results and recommended lists. The “Hidden” option hides the video in search results, but anyone with a link can watch it. This is useful for testing before a full release or sharing with a small group of users. The “Private” option restricts access to only you or a specific account.
You can also schedule the release time of the video instead of releasing it immediately. Scheduling releases is helpful if you want your content to be available at a specific time or maintain a consistent posting frequency. Many creators like to use this feature so they can update their channels regularly.
In “Other Settings”, you can enable or disable comments, choose how to sort comments, and decide whether viewers can see likes and dislikes. These options help you control your interactions, especially when uploading informational or sensitive content.
Finally, check YouTube’s automatic checks running in the background, such as copyright and content scanning. If any problems occur, please check carefully before completing the upload. Addressing warnings early helps avoid problems after your video is published.
Check the Final Video
After uploading, don’t assume everything is perfect. Open the video on YouTube and watch it in its entirety. This step is very important because the playback effect on YouTube may differ from the display effect in CapCut.
First, check the video quality. YouTube may initially only display the low-resolution version, while the higher-resolution version is still being processed. Wait a moment and refresh the page to confirm that a 1080p or higher resolution version is now displayed.
Next, listen carefully to the audio. Ensure that vocals are clear, background music volume is moderate, and there are no sudden volume changes. YouTube’s audio compression can sometimes make minor issues more noticeable than those in the original file.
Check the text, captions, and screen graphics, and confirm can CapCut export to YouTube with the correct resolution and aspect ratio. Check for edge cropping, blurry text, or timeline issues. This is especially important if you added captions, subtitles, or effects in CapCut. Ensure all content appears at the right time and is clearly readable on different screen sizes.
After publishing the video, you should also check the video description, title, and thumbnail. The link is confirmed to be valid, and the thumbnail is clearly displayed on both desktop and mobile devices.
If any serious issues are found, it is generally better to fix them in CapCut and upload a new version rather than trying to ignore them. Taking a few minutes to review the final video will help ensure a more professional production and a better viewing experience.
Tips and Final Summary
Before uploading, be sure to watch the exported CapCut video in its entirety on your computer. This helps you spot issues such as low volume, text extending beyond the screen, or transitions being too fast. These problems are much easier to fix in CapCut than after publishing to YouTube.
File naming is also more important than many people realize. Use clear and concise names for your video files. This not only makes management easier but also reduces confusion when uploading multiple videos in a short period.
When uploading to YouTube, please take a few minutes to carefully fill in the title and description. A clear title helps viewers quickly understand the content, while a detailed description can improve search rankings and provide contextual information. Adding chapters later can also improve the viewing experience, especially for longer videos.
Avoid rushing to publish. Many experienced creators will set their videos to “not public” first. This gives them time to carefully check the playback quality, subtitles, and thumbnail display on different devices. Once everything is ready, the video can be set to “public” in just a few moments.
A smooth CapCut video upload workflow to YouTube depends on thorough preparation, patience, and perseverance. Export your video using the correct settings, upload with caution, and carefully check the final result before sharing it widely. Adhering to these habits will not only save you time but also make your videos look more polished and professional.


