

How to Burn Overlay on CapCut PC
When editing videos on capcut mod apk for pc, if you want to permanently edit overlays such as text, stickers, effects or watermarks into the video so that they cannot be separated from the main video, you need to “burn” them. This guide will provide a detailed explanation of what burn overlay is, how to achieve this function in CapCut PC Mod APK, and the key details to avoid common mistakes.
Can You Burn Overlay Directly in CapCut PC?
CapCut PC doesn’t have a “burn overlay” button, but that doesn’t mean it can’t be done.
CapCut PC uses a non-destructive editing system: the overlays on the timeline can still be edited. The layers remain separate before export.
Exporting the video is effectively how CapCut PC burns overlays. Any overlays added to the CapCut PC project will be recorded in the final video at the time of export.
Therefore, the same final effect can be achieved through the correct workflow.
How to Burn Overlay Layer on CapCut PC
Follow these steps to burn overlay in CapCut PC:
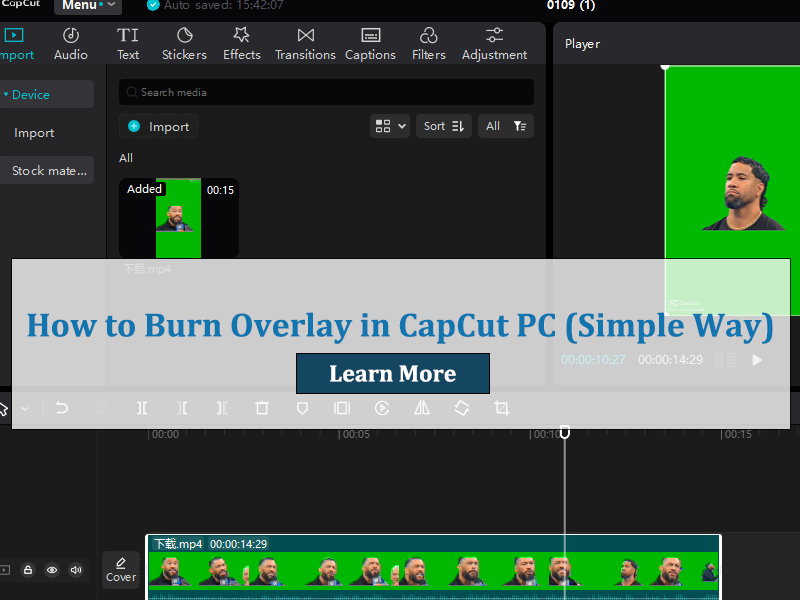
Step 1: Import the main video and CapCut PC overlay Materials
- Launch CapCut PC and click “Create Project”.
- Select the main video and add it to the timeline.
- Add the overlay layer: Place the overlay above the main video on the timeline.
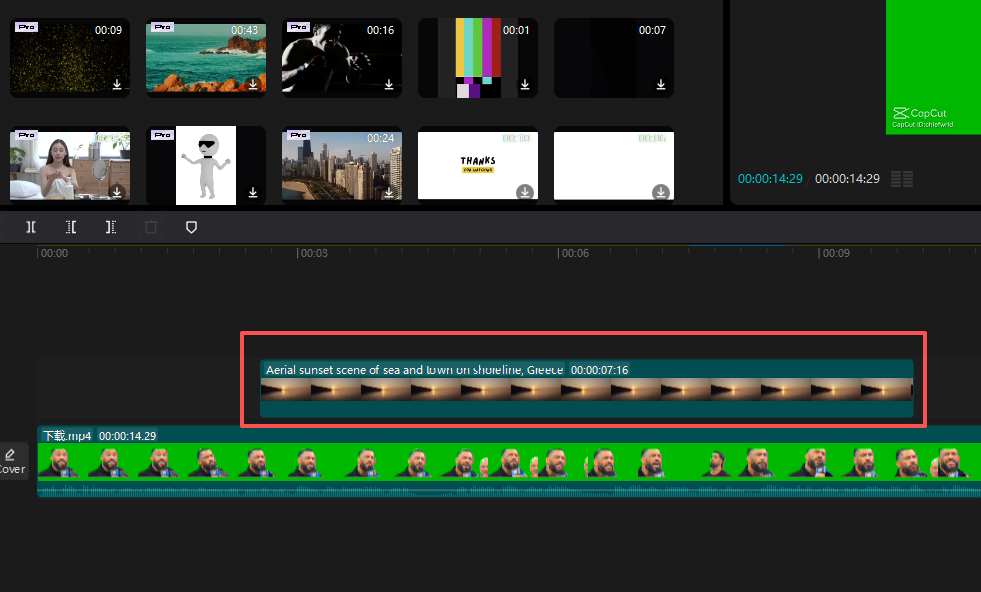
Step 2: Adjust the Overlay
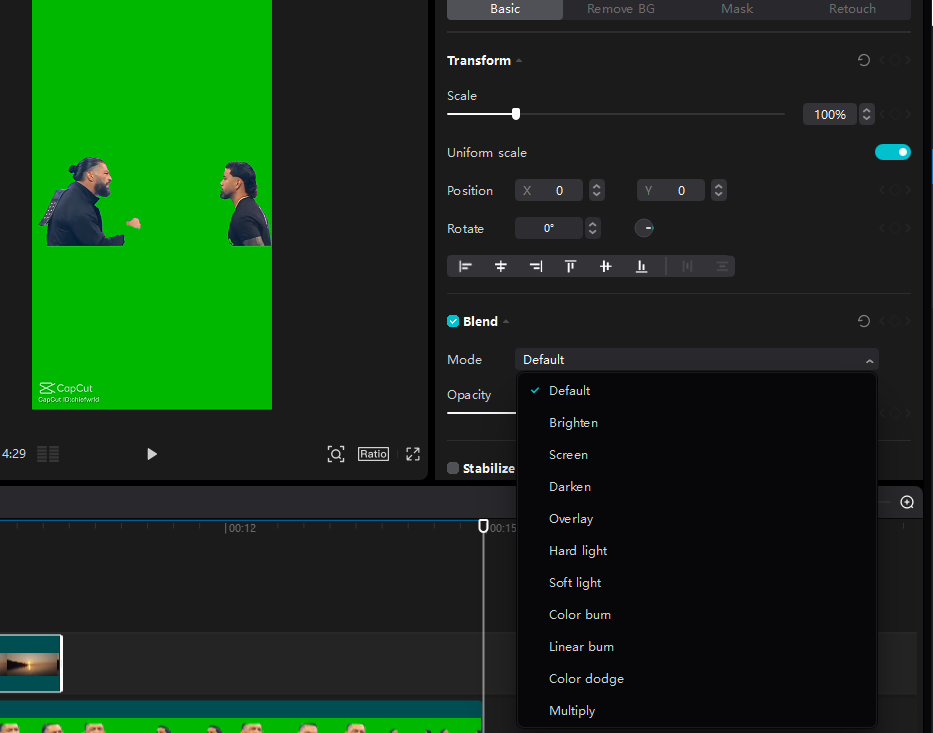
- Position/Size: Select the overlap layer and drag it in the preview window to reposition it, or use the corner handles to resize it.
- Duration: Drag the edges of the clip on the timeline to set the start/end points of the overlap layer and align it with the desired part.
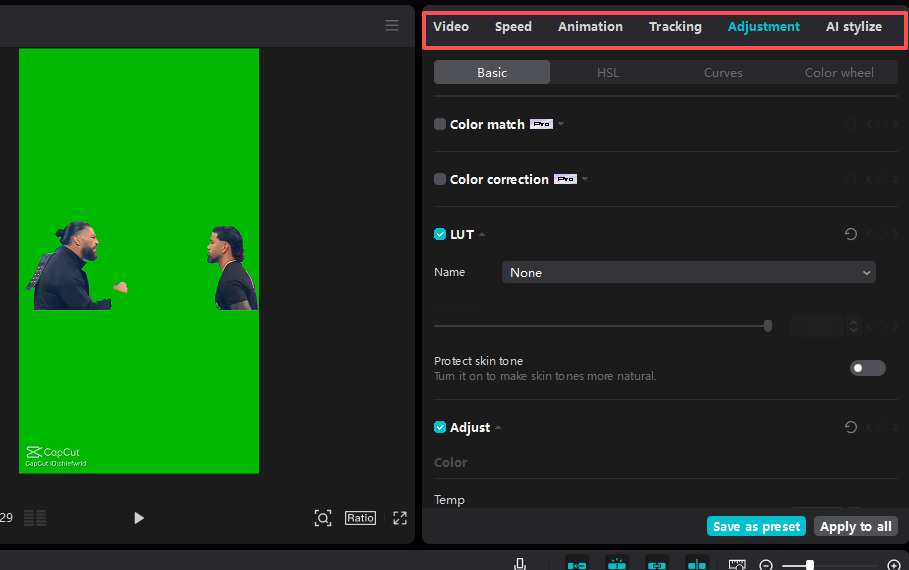
- Style: Use the right-side toolbar to customize the overlay:
- For text: Adjust font, color, opacity, or add animations.
- For images/logos: Reduce opacity or add shadows.
- For effects: Adjust intensity, duration, or blending mode.
Step 3: Preview the effect
Click the “Play” button to watch the full video and check: the position and duration of the overlay , and ensure it does not overlap with other elements.
Step 4: Export to Burn the Overlay
- Click on “Export”.
- In the export window settings, select the resolution, frame rate and quality.
- Export the project as a video file.
After exporting, the overlay will be fully integrated into the video and cannot be deleted later.
How to Check If The Overlay Is Burned?
To confirm if the overlay has been burned, please follow the following quick check steps:
- Locate the exported video file.
- Re-import it into CapCut PC and view the timeline.
If the effect is visible but there is no overlay layer, it indicates that it has been burned.
If the overlay layer is shown as a separate track, it means it has not been burned.
Or open the file with another player. If the overlay cannot be adjusted or deleted, it indicates that the burning has been successful.
What is Burn Overlay?
Burn overlay refers to incorporating the overlay layer into the main video track. Unlike adding an ordinary overlay which can be edited or deleted later, once burned, the overlay becomes an integral part of the video and cannot be separated or deleted.
In practice, burning an overlay is often used to:
- Prevent accidental removal or misalignment.
- Ensure visual consistency when exporting or sharing projects.
- Prepare videos for platforms or workflows that do not support layered timelines.
When Burn Overlay Works Best:
- Content protection: Adding an overlay can prevent others from stealing or using it without authorization.
- Final delivery: For professional projects, adding an overlay can lock the appearance and prevent changes from being sent.
- Assistance: If you share videos with your team or clients, send the final file without editable layers.
- Cross-platform compatibility: Ensure that the overlay can be displayed correctly on all platforms.
Where to Find Free and Legal Overlay Materials?
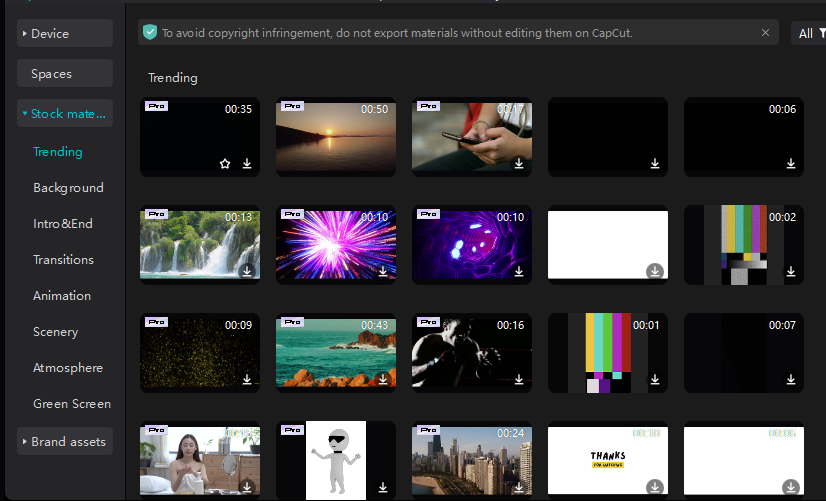
Improper use of overlays may lead to infringement and even legal issues. Please stick to using the following safe and free resources:
- Built-in effects and overlays in CapCut.
- Free video platforms that offer various overlay effects.
- Knowledge-sharing resources with clear commercial usage rights.
Before using overlays in a commercial project, be sure to check the license terms.
Common Overlay Issues in CapCut PC
1. Is It Possible to Burn Multiple Overlays at Once?
Yes. You can place any number of overlays on different tracks, and then export.
2. CapCut PC overlay cannot be displayed after export
Check: The transparency, duration of the layers, and the duration of the main clip are consistent, and the export resolution matches the project settings.
3. CapCut PC overlay change after export
This might be caused by the following reasons:
- Incorrect blending mode
- Low export bit rate
- Resolution mismatch
- Be sure to preview in full resolution before exporting.


