

Tweening is a simple way to create smooth transitions between two points, helping movements like scaling, rotating, or shifting look natural instead of abrupt. In CapCut, this effect is done using the keyframe feature, where you set starting and ending positions and let the software fill in the motion. If you’re learning how to tween on CapCut PC, the key is to place keyframes carefully and keep movements subtle for cleaner, more professional-looking edits.
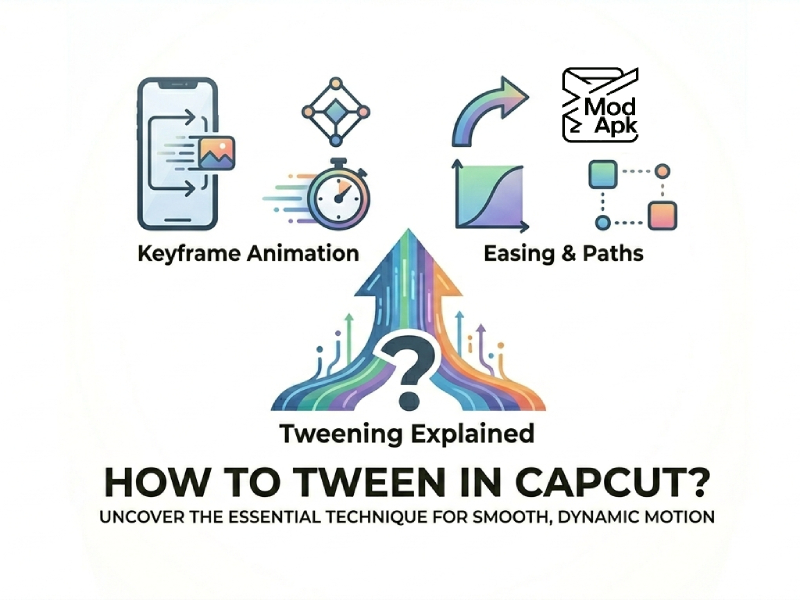
What Is Tweening?
Tweening is a common technique in video editing and animation used to create smooth, dynamic transitions between two key points, especially useful for creators working on character-based content like Gacha Life. Instead of manually adjusting each frame, you simply define a starting position and an ending position, allowing the software to automatically generate the motion in between. This makes it much easier to create polished animations with minimal effort. If you’re learning how to tween in CapCut Gacha Life, understanding this basic principle will help you produce smoother movements and more engaging visual storytelling without spending too much time on complex edits.
For example, if you want a piece of text to move from the left side of the screen to the right side, you don’t need to drag it manually step by step. You simply define its starting and ending positions, and the editor automatically generates all the intermediate frames, resulting in a movement that appears natural and fluid.
In CapCut, tweening animation is achieved through “keyframes”. Each keyframe records parameter values at a specific moment, such as position, size, rotation angle, or opacity. When there are two or more keyframes, the software will connect them to create a smooth transition effect.
Tweening can be used in many simple ways:
- Moving objects across the screen
- Zooming in or out
- Rotating elements slowly
- Fading items in or out
It helps make videos look more dynamic without adding complex effects. Even small movements created with tweening can make a big difference in how your video feels.
How Keyframes Work in CapCut
In CapCut, keyframes are the primary tool for creating dynamic effects. They are like markers on a timeline, used to tell an application where a change begins and ends.
Each keyframe stores the state of an object at a specific moment. This can include:
- Position
- Size
- Rotation
- Opacity
When you set two keyframes with different parameters, CapCut will automatically generate a smooth transition between them. This is known as Tweening.
If the text in the first keyframe is on the left side of the screen and the text in the second keyframe is on the right side of the screen, CapCut will automatically move the text across the screen over time. You don’t need to manually adjust its position frame by frame.
You can also use multiple keyframes in one clip. This gives you more control. For instance, you can:
- Move an object forward, then back
- Zoom in, pause, then zoom out
- Combine movement and rotation in one sequence
Another useful point is that the distance between keyframes affects speed. If two keyframes are close together, the motion will be faster; if they are far apart, the motion will be slower and smoother.
Types of Tween Effects You Can Create
In CapCut, tweening animation has many simple yet effective applications. By combining keyframe changes, you can smoothly enhance motion and make clips feel more dynamic and less static. A basic tween in a CapCut video can quickly improve visual flow without requiring complex editing skills.
Position Movement
This is the most common usage. You can move text, images, or stickers across the screen. For example, slide the title from the left to the center, or move an object upwards to guide the viewer’s eye. You can also create diagonal or curved motion effects by adding more keyframes in the middle.
Zoom In and Out
Zoom effects help capture the audience’s attention. You can slowly zoom in to focus on faces, objects, or details in the video. Slow zooming creates a calm atmosphere, while fast zooming adds energy. In addition, you can combine zooming with camera movement to create a more dynamic visual effect.
Rotation
Rotation effects can add a touch of dynamism to objects without changing their position on the screen. You can fine-tune the rotation of text to create a casual style, or you can make objects rotate rapidly to create a stronger visual impact. Generally speaking, small rotational changes tend to look better than large, rapid rotations.
Opacity Changes
By adjusting the opacity, you can create fade-in and fade-out effects. This is very useful for transitions between segments or for achieving smooth text display. You can also combine opacity with dynamic effects to make elements fade in and slide into place simultaneously.
Scale + Position Combo
Instead of using a single effect, you can combine them. For example, an object can be magnified as it moves from the bottom to the center. This will make the animation appear more natural and less simplistic.
Stop-and-Go Motion
By adding extra keyframes, you can make an object move, pause, and then move again. This approach creates a more controlled style and aligns with the rhythm of the music or voice.
Simple Parallax Effect
You can place different elements on separate layers and have them move at different speeds. For example, the background moves more slowly, while the foreground moves more quickly. This creates a sense of depth.
Tips for Smoother Tweening
Achieving smooth motion effects in CapCut is much more than simply adding keyframes. Even minor adjustments can greatly enhance the naturalness of the animation.
Please keep your actions simple and clear. If an object moves too far or too fast, the image will often look unnatural. Especially for longer animation segments, it is recommended to try a “gradual” approach to move objects.
If necessary, increase the number of keyframes appropriately. Don’t just set a start and end point; insert more keyframes in between. This allows you to better control the trajectory of an object, thus effectively avoiding sudden changes in direction.
When working with motion editing in CapCut Pro Mod for pc, another useful technique is to adjust the time interval between keyframes. If keyframes are arranged too closely together, the motion will appear rushed and hurried; conversely, if the keyframes are spaced further apart, the motion will appear smoother and more fluid. You can find the ideal motion speed by repeatedly trying and adjusting the spacing of the keyframes, allowing you to fine-tune the animation until it feels natural and visually balanced.
Try to make the dynamic effects match the video content. For example, a tranquil and soothing scene is more suitable for slow and smooth movements, while a fast-paced scene can use a faster transition effect. Maintaining this sense of balance will allow your videos to present a more unified and harmonious overall style.
Common Mistakes to Avoid
When learning how to create tween animations in CapCut, some minor mistakes can cause your animations to look rough or unnatural. Paying attention to these details will significantly improve the quality of the final product.
A common problem is that keyframes are set too densely. When the time interval is extremely short, the movement of an object will appear too rushed, thus appearing stiff and rigid. Try to leave enough space between keyframes to allow the animation motion ample time to achieve a smooth transition.
Another common mistake is moving an object too far in a very short time. For example, if a piece of text jumps from one side of the screen to the other in just one second, the presentation often looks very unnatural. A better approach is to break the object’s motion into smaller steps or to appropriately extend the animation’s duration.
Many users also neglect to check each keyframe individually. If the position of any one of the keyframes is slightly off, the motion trajectory of the entire animation may appear disordered. Therefore, please take some time to scroll through the timeline and carefully examine and confirm the position and settings of each keyframe.
A somewhat subtle issue is inconsistency in animation speed, where acceleration and deceleration feel uneven, making the motion look abrupt and unnatural. To fix this, try balancing the spacing between keyframes and adjusting the timeline rhythm for smoother transitions. When working in capcut pc mod apk, maintaining consistent timing helps create a more fluid and professional-looking animation.
Final Thoughts
Learning how to tween in CapCut is a useful skill for anyone who edits videos. By using keyframes, you can create smooth and simple animations without much effort.
Start with basic movements, then try combining position, scale, and rotation. With practice, your videos will look more polished and engaging without needing complex tools.


