
For an unknown reason, finishing videos with CapCut always takes a really long time; like a 20-minute clip needs 3 hours to be saved, which is very strange.
I checked into the problem and found it wasn’t our equipment that was at fault. Instead, it was Capcut’s export process. The only real fix seemed to be waiting for a Capcut update, but I also discovered some tricks to make Capcut export quicker.
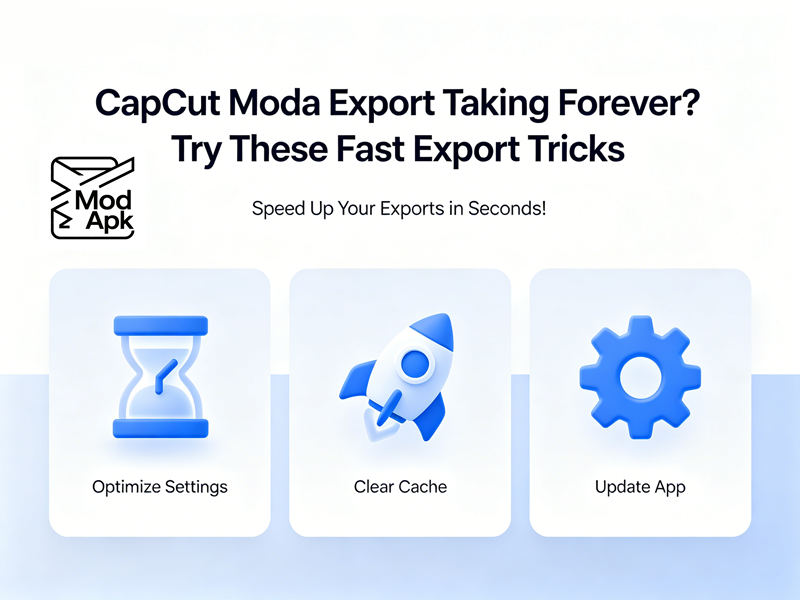
Why Is CapCut Export Taking So Long
Export issues typically stem from a combination of device limitations, software settings, and project complexity.
- High-resolution videos (4K or above)
- Long video durations
- Too many effects, filters, and transitions
- Insufficient device storage
- Low RAM availability
- Outdated CapCut version
- Hardware limitations
- Background apps consuming resources
The more complex your project becomes, the longer CapCut needs to process every frame during export.
But occasionally, even when the usual problems aren’t the cause, your exports might still be slow. In such cases, some tricks can only be used.
Quick tips for CapCut export
Trick 1: The Quick-Fire Checklist
- Restart Everything: Close CapCut completely and restart your device. This clears the RAM and stops any background processes that might be interfering.
- Clear CapCut’s Cache: Accumulated cache data can cause glitches. On mobile, go to your device’s Settings > Apps > CapCut > Storage > Clear Cache. On desktop, find the Clear Cache option within CapCut’s settings. This does not delete your projects.
- Free Up Storage: Check your device’s available storage. If it’s below 20%, delete old files, offload photos, or uninstall unused apps to free up space.
- Close Background Apps: On your phone, swipe away all other apps. On your computer, close your browser, email client, and other software. This dedicates maximum system resources to CapCut.
Trick 2: Optimize Your Export Settings for Speed
Lowering export quality is the most effective way to speed up a render.
- Lower Resolution: Switch from 4K (2160p) to 1080p. For social media like TikTok and Instagram Reels, 1080p (1080×1920) is the perfect sweet spot.
- Reduce Frame Rate (FPS): If you’re exporting at 60fps, try 30fps. Only use 60fps if your original footage was shot in 60fps and you need the smooth motion for action or gaming content.
- Adjust Bitrate: If you have a manual bitrate setting, lower it. For 1080p, a bitrate of 8-12 Mbps is excellent for social media. Avoid “Maximum” settings unless necessary.
- Use the Right Format & Codec: For maximum compatibility and reliable exports, choose MP4 with the H.264 codec. Avoid HEVC (H.265) unless you specifically need smaller file sizes and know your device supports it flawlessly.
Trick 3: Simplify Your CapCut Project
A heavy project is a slow project. Streamline your timeline before exporting.
- Remove Heavy Effects Temporarily: Disable or remove processor-intensive effects like AI motion, advanced blur, body effects, or multiple stacked transitions. Export a test version without them to see if speed improves.
- Identify and Replace Problem Clips: If your export consistently fails or freezes at a specific point, the clip at that timestamp is likely corrupted. Try removing or re-importing the most recently added clips.
- Split Long Projects: For very long videos, try exporting in 3-5 minute segments. You can then combine the exported files in a new, simpler project.
- Use Proxy Files for Editing (Desktop): While this helps with playback smoothness, enabling proxy mode in Settings > Performance can sometimes make the editing process less taxing on your system, leading to a more stable export environment.
Trick 4: Advanced System & Software Fixes
If the basics don’t work, these advanced tweaks can solve more stubborn problems.
- Toggle Hardware Acceleration (Desktop): Go to CapCut Settings > Performance and turn OFF “Hardware Acceleration” or “GPU Encoding.” Restart CapCut and try exporting again using software (CPU) encoding. If it was already off, try turning it on.
- Ensure Fixed Frame Rate (Constant FPS): When exporting, set your FPS to a fixed number like 30 or 60. Do not use “Auto” or “Match Source” if you suspect VFR issues.
- Match Timeline and Export Resolution: Set your project resolution when you create the project and your export resolution to the same value, e.g., both 1080p.
- Reinstall CapCut: As a last resort, uninstall and then reinstall CapCut. This can fix deep-seated corruption.
I’ve tried all the tips I mentioned, and changing the video type from HEVC to H.264 helped the most. It made exporting my work much faster. I recommend everyone give it a try.
How to Export Music to CapCut
Normally, when using Capcut export mp4 is a common format. MP4 files contain audio files, and many creators want to add their own music instead of using CapCut’s built-in audio library.
On Mobile
- Open CapCut.
- Start a new project.
- Tap Audio.
- Select Sounds.
- Choose From Device.
- Locate your music file: Supported formats generally include MP3, WAV, and M4A.
The audio will be added to your timeline.
On CapCut PC
- Open your project.
- Click Import.
- Select the music file.
- Drag it to the timeline.
Best Export Settings for Fast Performance
If speed matters more than maximum quality, try:
TikTok
- Resolution: 1080p
- Frame Rate: 30 FPS
- Format: MP4
Instagram Reels
- Resolution: 1080p
- Frame Rate: 30 FPS
- Format: MP4
YouTube Shorts
- Resolution: 1080p
- Frame Rate: 30 FPS
- Format: MP4
These settings offer excellent quality while minimizing export times.
Prevent Future Export Problems
Keep Projects Organized: Delete unused clips and assets.
Update Regularly: New updates improve performance and stability.
Avoid Overloading Timelines: Hundreds of effects can overwhelm weaker devices.
Save Backup Copies: Duplicate important projects before major edits.
Monitor Device Temperature: Overheating can slow rendering dramatically.
Final Thoughts
In my experience, most CapCut not exporting problems come down to three things: insufficient storage, excessive effects, or exporting at unnecessarily high resolutions. Lowering your export settings to 1080p, clearing device space, and keeping CapCut updated usually solves the problem quickly. It could also be a formatting error in the FPS and H.264 codecs.
I hope this article has been helpful to you.