

Vignettes are a staple of professional video editing—this subtle darkening (or lightening) of a video’s edges draws the viewer’s eye to your subject, adds depth, and instantly elevates your footage with a cinematic feel. For CapCut PC users, creating the perfect vignette is intuitive, and you can take it a step further with dynamic keyframing to match your video’s pacing. In this guide, we’ll cover vignette capcut pc basics for static effects, master Vignette keyframes CapCut for dynamic adjustments, and show you how to pair vignettes with CapCut PC cinematic effects to craft theater-worthy videos—no premium editing experience required.
What is a Vignette, and Why It’s a Cinematic Essential
A vignette is a post-production effect that modifies the brightness/opacity of a video’s frame edges, leaving the center in sharp focus. It’s one of the most accessible CapCut PC cinematic effects because it:
- Guides viewer attention to your main subject
- Adds a timeless, film-like aesthetic to amateur or phone-recorded footage
- Masks distracting edge elements
- Complements other cinematic effects in CapCut PC
CapCut PC offers both static vignettes and dynamic vignettes. We’ll cover both methods step-by-step.
How to Add Static Vignette in CapCut PC
This is the go-to vignette capcut pc method for most videos: a simple, fixed vignette that stays consistent throughout your clip. It takes 60 seconds or less and requires no advanced editing skills.
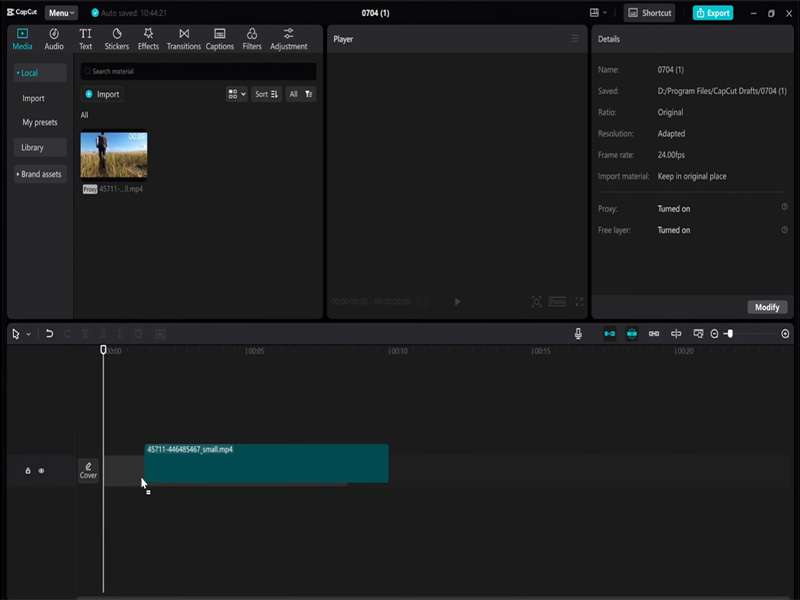
Step 1: Import Your Video to CapCut PC
- Open CapCut PC and create a New Project.
- Drag and drop your video footage into the media library, then add it to the main timeline.
- Select the video clip on the timeline to activate the editing panel.
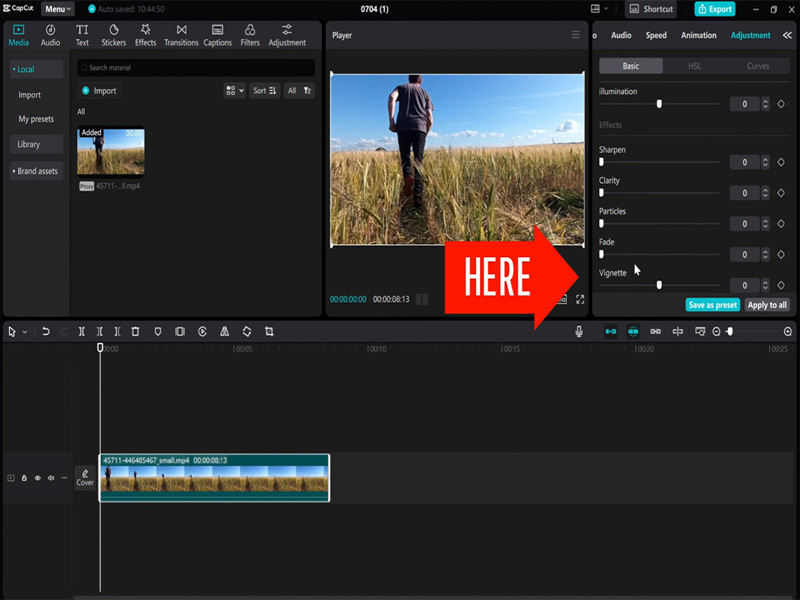
Step 2: Locate the Vignette Tool in CapCut PC
CapCut PC houses the vignette tool in the Adjust menu:
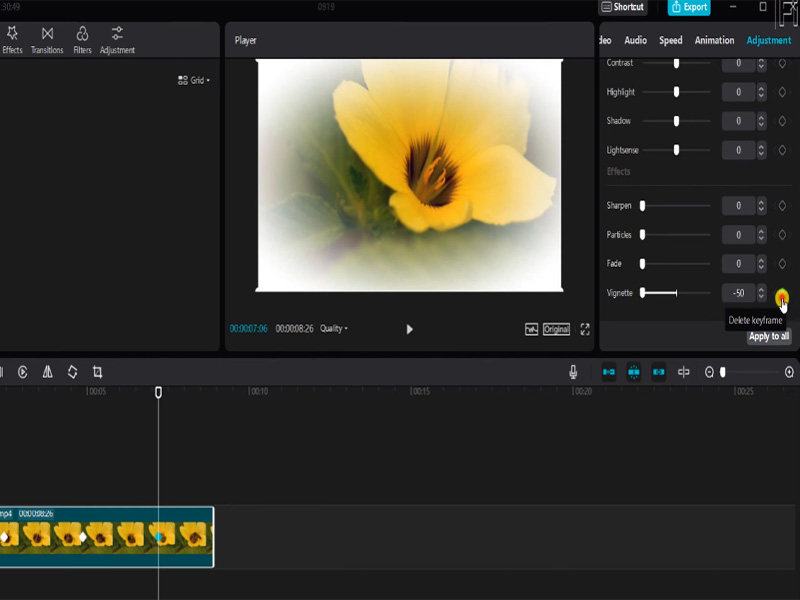
- In the right-side editing panel, click the Adjustment tab.
- Scroll down the Adjust menu—you’ll find the Vignette option near the bottom.
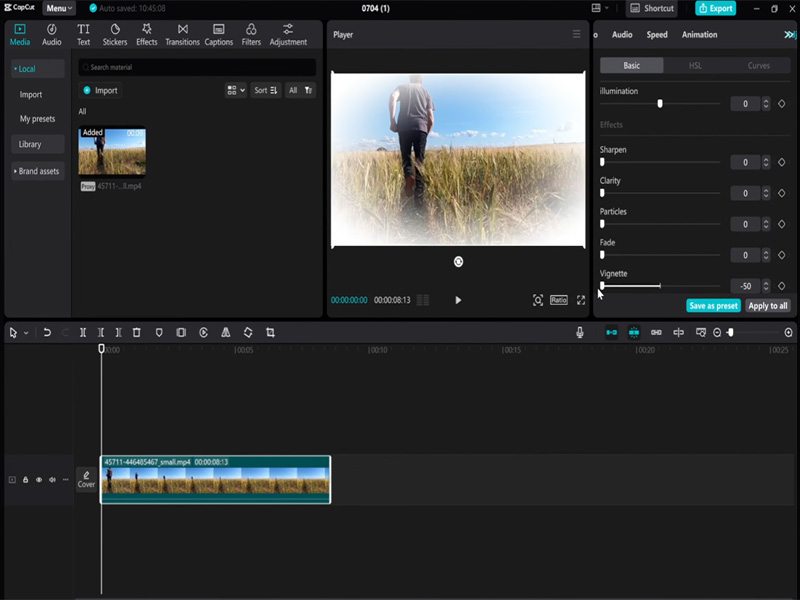
Step 3: Customize Your Static Vignette
Click the Vignette slider to expand its custom settings—tweak these parameters to match your video’s style (start with small adjustments to avoid an overdone effect):
- Intensity: Controls how dark the vignette is (0 = no effect; 100 = maximum darkening). For subtle cinematic style, stick to 10–30.
- Size: Determines how much of the frame the vignette covers (0 = small circle around the center; 100 = covers almost the entire frame). 60–80 is ideal for most videos—this keeps the edge darkening soft and natural.
- Feather: Blends the vignette’s edge into the main footage (0 = hard, harsh edge; 100 = ultra-soft, seamless blend). 70–90 is a must for cinematic effects—hard vignettes look unprofessional in most cases.
- Color: By default, vignettes are black, but you can click the color picker to add a subtle tintfor extra cinematic flair.
Step 4: Apply and Preview
Once you’re happy with the settings, click the checkmark to apply the vignette. Play the video in the preview window to ensure the effect is subtle and focuses on your subject—tweak the sliders if needed.
Vignette Keyframes CapCut: Create Dynamic Cinematic Vignettes
Static vignettes work for most clips, but Vignette keyframes CapCut lets you create dynamic vignettes—effects that change intensity, size, or feather over time to match your video’s scene, pacing, or camera movement. This is a pro-level CapCut PC cinematic effect for videos with multiple focal points, panning shots, or scene transitions.
What You’ll Achieve with Vignette Keyframes
With keyframes, you can:
- Fade a vignette in/out for a scene reveal
- Adjust the vignette size to follow a moving subject
- Increase vignette intensity for a dramatic moment
- Remove the vignette entirely for a wide landscape shot, then reapply it for a close-up
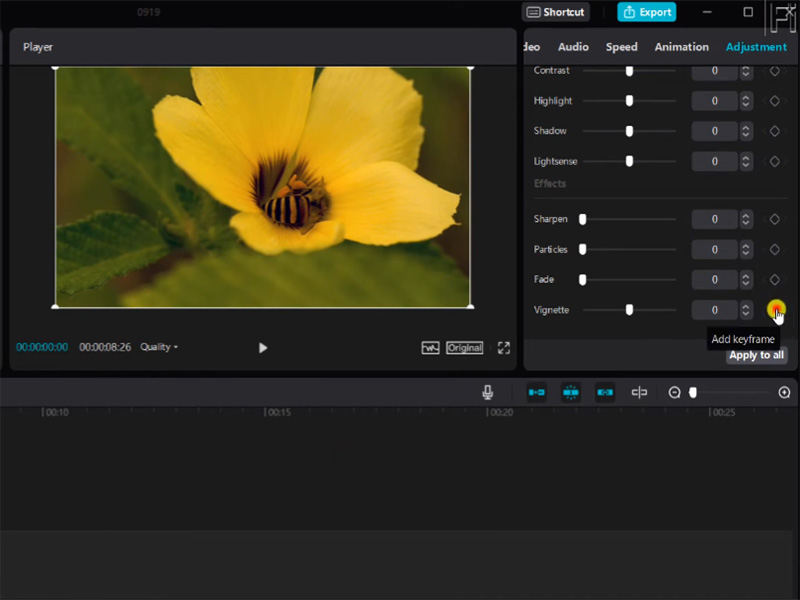
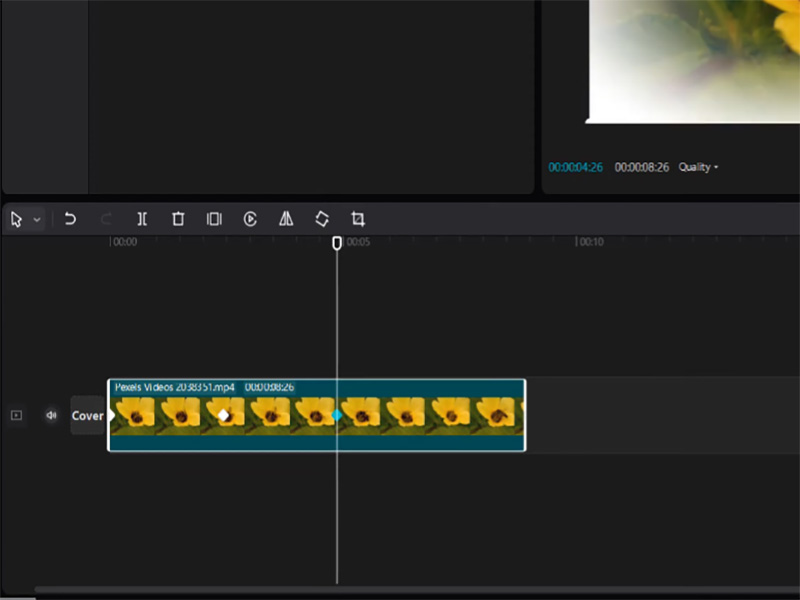
Step 1: Set Your First Vignette Keyframe
- Follow Steps 1–2 from the static vignette method.
- Move the playhead to the start of the clip (or the point where you want the dynamic vignette to begin).
- In the Vignette menu, click the diamond icon (CapCut’s keyframe button) next to the Vignette label—this is your starting keyframe. Set your initial vignette parameters for this keyframe.
Step 2: Add a Second Keyframe for a Vignette Change
- Move the playhead to the point in the clip where you want the vignette to change.
- Adjust the vignette parameters to your desired new setting. CapCut PC will automatically add a second keyframe when you tweak the sliders—you’ll see a second diamond on the timeline.
Step 3: Refine Keyframes for Smooth Transitions
- To edit a keyframe, click the diamond icon on the timeline and adjust the vignette parameters again.
- For ultra-smooth cinematic transitions, right-click a keyframe and select Ease In/Out—this softens the vignette change so it’s not abrupt.
- Add additional keyframes for multiple vignette changes by repeating Steps 2–3.
Step 4: Preview and Tweak
Play the video in the preview window to check the dynamic vignette. Adjust the keyframe positions or vignette parameters if the transition feels too fast/slow or the effect is overdone.
Elevate CapCut PC Cinematic Effects with Vignette Combos
A vignette alone adds cinematic flair, but pairing it with other CapCut PC cinematic effects turns ordinary footage into professional film. Here are the best effect combos for vignettes—all free in CapCut PC:
- Vignette + Color Grading (Cinematic Tone)
- Open the Adjust > Color menu and tweak contrast (increase by 10–15), saturation (decrease by 5–10 for a muted film look), and temperature.
- For one-click cinematic color, use CapCut PC’s Filters tab—select the Cinematic filter pack and lower the filter intensity to 30–50 so it pairs with the vignette without overpowering it.
- Vignette + Film Grain (Texture & Authenticity)
Add subtle film grain (Adjust > Grain) with Intensity 10–20—this mimics the texture of real film and makes the vignette feel more organic.
- Vignette + Slow Motion (Dramatic Pacing)
For action or emotional clips, use CapCut PC’s Speed tool to slow the footage to 50–75% speed. The vignette will draw attention to the slow-motion subject, amplifying the dramatic effect.
- Vignette + Letterboxing (Widescreen Film Aspect Ratio)
A classic cinematic trick: add letterboxing to mimic a theater screen. Go to Canvas > Aspect Ratio and select 21:9 or use the Mask tool to create custom letterboxing—pair this with a vignette for the ultimate film look.
Pro Tips for Vignette CapCut PC
Mastering vignette capcut pc is easy—avoid these rookie mistakes to keep your effects cinematic and professional:
- Don’t overdo the intensity: A vignette should be subtle—if viewers notice the dark edges before the subject, you’ve set the intensity too high.
- Match the vignette to your video style: Bright, upbeat videos need a soft, low-intensity vignette; dark, dramatic videos can handle a darker, more pronounced vignette.
- Use feather for seamless blending: Never skip the feather slider—hard-edged vignettes look like a beginner mistake.
- Save vignette presets: If you find a perfect vignette setting, right-click the adjusted clip and select Copy Edits—paste it to other clips for consistent cinematic style across your video.
- Avoid vignettes on wide landscape shots: Vignettes work best for close-ups or shots with a clear focal point—they can make wide landscapes feel cramped or framed poorly.
Common Issues & Fixes for Vignette CapCut PC
Issue 1: Vignette edge is hard/unnatural
Fix: Increase the Feather slider to 70–90—this blends the vignette into the footage seamlessly. For extra softness, lower the Intensity slightly.
Issue 2: Vignette keyframes are choppy/abrupt
Fix: Right-click the keyframe and select Ease In/Out to smooth the transition. You can also add intermediate keyframes to break up the change into smaller, softer steps.
Issue 3: Vignette doesn’t apply to the entire clip
Fix: Ensure the video clip is fully selected on the timeline. If the vignette is only on a portion of the clip, check for accidental split points.
Issue 4: Vignette is too dark on bright footage
Fix: Lower the Intensity and add a subtle color tint instead of black.
Conclusion
Adding a vignette in CapCut PC is one of the simplest and most effective ways to add a cinematic touch to your videos, and mastering Vignette keyframes CapCut takes your editing to pro level. Whether you’re creating a static vignette for a vlog or a dynamic keyframed vignette for a dramatic short film, this effect guides viewer attention and elevates even phone-recorded footage. When paired with other CapCut PC cinematic effects—color grading, film grain, letterboxing—your vignette will turn ordinary clips into theater-worthy content, all for free in CapCut PC.


