
CapCut has become one of the most popular short video editing apps, widely chosen for its simple interface, fast workflow, and powerful editing tools that even beginners can quickly adapt to. However, as users spend more time exploring its capabilities, a common question starts to appear: why do some advanced tools seem difficult to locate or partially restricted behind certain menus? This is where the idea of CapCut hide pro features becomes noticeable, as many users feel that some professional-level options are not immediately visible or are placed deeper within the app’s structure, making them less straightforward to access than expected.
This is not just a design issue; it is closely related to CapCut’s architecture, how the tools are organized, and how free and paid features are divided. Understanding this architecture will make it easier for you to use the application and avoid confusion.
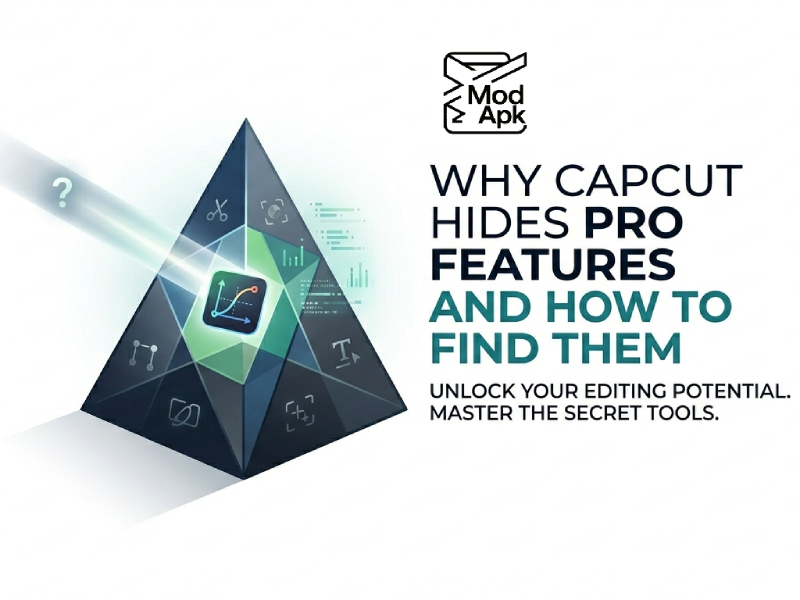
Why CapCut Keeps Some Pro Features Hard to Notice
CapCut doesn’t place all its professional tools in a prominent location, and many users only notice this after using it for a while, since it avoids clearly separating basic and advanced functions and instead embeds them into different stages of the editing workflow, a design choice that subtly shapes how people explore the app and gradually uncover features like CapCut Pro features without realizing when they moved from basic editing into more advanced capabilities.
One of the main reasons is the simple interface. CapCut has a very wide user base, including some beginners who have never edited videos before. If all the advanced tools are displayed directly at the front, the interface will appear cluttered and confusing. By keeping the home screen clean and simple, CapCut ensures that users can easily access essential functions such as editing, adding music, and applying filters without being distracted.
Another reason is CapCut’s tool structure. This app is built around editing tasks rather than feature tags. For example, instead of putting all the color tools in a prominent “Advanced” section, it scatters them across different menus such as “Adjustments,” “Filters,” and even template presets. This is why users are often unaware that they are using advanced features, but simply regard them as part of regular editing.
Finally, the update also played a role. CapCut frequently adds new features, sometimes integrating them into existing menus instead of creating new sections. Over time, this has made the menu structure unpredictable, and some tools, even when clearly within reach, feel “hidden.”
Where Hidden CapCut Pro Features Are Usually Located
Most of the “hidden” professional tools are not actually locked; they are simply placed in less conspicuous locations within the application.
1. Effects and Filters Library
Many advanced visual effects are located in the “Effects” tab, rather than in the main editing timeline. In this tab, CapCut categorizes effects into popular, cinematic, or stylistic categories. Some more powerful effects have been mixed into the regular list instead of being explicitly labeled “Pro”.
2. Template Editing Mode
Templates typically include advanced transitions, motion tracking, and automatic clipping features. These features are not displayed as separate tools in the editing interface, but only when you open or customize a template.
3. Adjustment Panel
Color correction tools, such as curves, HSL controls, and fine lighting adjustments, are all located in the “Adjustments” section. Many users ignore them because they assume these tools are in the filters.
4. Text Animation and Keyframe Tools
Advanced text movement, smooth animation, and keyframe controls are not displayed on the main text toolbar. They will appear after selecting the text layer and opening more in-depth editing options.
5. Audio Enhancement Tools
Noise reduction, voice enhancement, and beat synchronization features are typically located in the audio editing menu and are not highlighted on the main audio screen.
How to Find Hidden CapCut Pro Features More Easily
Once you understand where CapCut places tools, finding them becomes much faster. The key is not to look for “Pro sections,” but to explore each editing layer.
1. Open Every Main Panel Once
Don’t just focus on the timeline; instead, open all the tabs: effects, filters, audio, text, and overlays. CapCut typically places advanced tools in these sections rather than highlighting them on the homepage.
2. Long-Press and Expand Options
Many functions are hidden behind long-press operations. Long-pressing a video clip, text, or audio clip usually reveals additional control options, such as speed curves, motion settings, or blending options.
3. Check Sub-Menus Carefully
Within tools such as “Adjust” or “Animation,” there are smaller tabs for toggling between basic and advanced settings. Most professional tools are located in these submenus.
4. Explore Template Details
When you open the template, carefully observe how it is constructed. Many of the advanced transitions or effects used in the template can be reused or applied manually in your own projects.
5. Look for Small Icons and Arrows
CapCut often uses small indicators such as arrows or layered icons to show deeper levels of options. These indicators are easy to overlook, but they usually point to more advanced control functions.
Why Some Features Feel “Hidden” Even When They Are Not
Some features in CapCut may seem hidden, but this feeling usually stems from the application’s structural design rather than actual functional limitations. The tools do exist, but they are scattered across different levels of the editing system, including users who download or explore the APK CapCut app version for different devices, which can further add to the perception that options are harder to locate. This design makes the application feel more complex than it actually is, especially for users who are still getting used to the interface layout.
1. Features are grouped by workflow, not importance
CapCut does not categorize tools by “basic” or “advanced,” but rather by editing stage. For example, color tools are located under the “Adjustments” category, motion tools under the “Animation” category, and audio tools under the “Sound Editing” category.
This means that some powerful features may not be where users expect them to be. It is not hidden, but simply placed in different logical groups.
2. The interface is designed to stay visually simple
The main editing interface is deliberately kept simple. CapCut avoids displaying too many buttons at once, which helps beginners focus on basic editing operations such as cutting and adding music.
Because of this minimalist layout, many advanced tools require clicking through multiple layers to find. Users may feel that certain functions are missing, but in reality, it’s just that one or two layers are hidden.
3. Some tools only appear after selecting an object
A common reason for confusion is that certain features only show up when something is selected. For example:
- Text tools appear only after clicking a text layer
- Animation options appear after selecting a clip
- Audio effects appear after selecting a soundtrack
Without selecting the correct element, the tools simply do not appear, which can feel like they are hidden.
4. Features are split across multiple menus
CapCut doesn’t put all the effects in one place, but instead scatters them across different sections, such as “Effects,” “Filters,” “Stickers,” and “Template.” Some advanced tools are also embedded in these sections, rather than being listed separately.
This structure makes the application more flexible, but it also means that users need to navigate through multiple menus to find all the functions.
5. Updates change feature locations over time
CapCut updates frequently, and new tools are usually added to existing menus rather than creating new ones. This may cause the position of some options to change.
Therefore, early adopters of the application may feel that the location of some functions has changed or even disappeared, when in fact they have simply been repositioned within the interface.
6. Template-based tools are not always visible as standalone features
Some of the most advanced effects are built into the template. Users may see the final result, but cannot immediately identify the various tools behind it.
Because these tools are not displayed separately in the main editing panel, they may give the illusion that they are “hidden” even if they belong to the same system.
Conclusion
CapCut doesn’t strictly hide its professional functions; instead, it distributes these tools across different editing layers to keep the interface simple while still offering flexibility and depth for users who explore further. Once you understand how the application’s tools are organized, everything becomes easier to locate and use, even in modified versions such as capcut premium mod apk, where similar feature layouts are often presented in the same layered structure.
The key is not to look for so-called “specialized sections,” but to gradually explore each part of the editing process. Over time, you’ll feel that it’s no longer just a basic editor, but more like a full-featured creative toolset that expands with your use.