

If your projects always seem late, your computer is full of random files, or every new video feels stressful, your video editing workflow may be the real problem.
A sloppy workflow doesn’t just waste time — it drains creative energy. Try using keyboard shortcuts and better file organization to speed up your work.
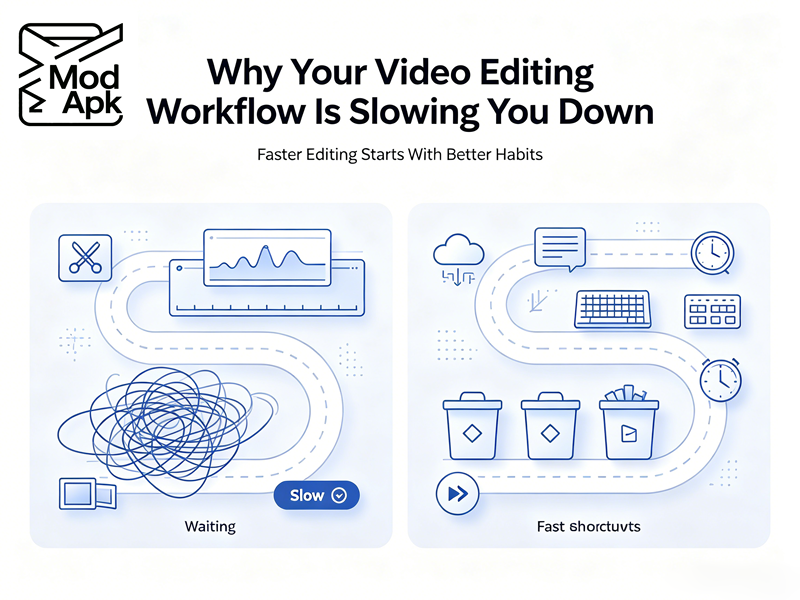
A clean video editing workflow isn’t about working faster for the sake of speed. It’s about removing friction so you can stay in the creative zone longer.
Signs Your Workflow Is Slowing You Down
1. No Ingest Routine
You shot on Tuesday, dumped cards straight onto your edit drive, and called it a day. Come Thursday, you’ve got DCIM100, MVI_4821, and five versions of interview_final_v2. This is where the rot starts.
Best practice: every shoot gets a dated, structured folder before a single clip hits the timeline. Something like:
/2026-06-12_ClientName/
├── Footage/
│ ├── CamA_4K
│ ├── CamB_1080
│ └── Audio_Multitrack
├── Proxies/
├── ProjectFiles/
└── Exports/
Naming files as you import them helps you avoid the hassle of searching for the right version later.
If you’re not sure where CapCut saves your files? You might want to read this guide first: “Where are CapCut projects stored on PC?”
2. The “One Giant Timeline” Approach
We’ve all been there: a single 47-minute timeline packed with interviews, B-roll, and effects. If you try to swap out the music, you’re looking at a total mess as everything shifts out of sync.
Organize your workflow into clear steps. Start with a string-out of your selects, followed by a radio edit, and then a picture lock. After that, move on to color grading and the final mix. To keep your timeline from becoming a mess, use nested sequences or compound clips. Major editing software like Premiere, Resolve, and FCP all offer these tools, so be sure to use them.
3. Keyboard Shortcuts You Half-Know
Most editors know Cmd+K for cutting, but mastering shortcuts like Q/W and JKL navigation is key. If you’re constantly reaching for your mouse for repetitive tasks, you’re wasting time. Spend a morning tracking your habits; you’ll likely be surprised by how often you use the trackpad instead of your keyboard.
4. Projects Always Miss Deadlines
Late projects often happen because editors underestimate how long revisions, exporting, and feedback actually take. Editing is only one part of the production process.
5. Clients Give Feedback Too Late
Waiting days for comments can completely stop progress. Without an organized review process, projects remain unfinished much longer.
6. Skipping Proxies
It can’t. Not reliably. Most systems can’t smoothly handle 4K H.264 footage once you add effects and noise reduction. That is why proxy workflows are essential. Simply create them when you import your media, use them while you edit, and switch back to the original files for the final export. This keeps your playback smooth, prevents your computer from overheating, and saves you from a lot of frustration.
Video Editing Workflow Best Practices
Below is a practical video editing workflow for solo creators and small teams working on client projects:
- Pre-shoot: Build the folder skeleton, confirm codec/framerate with DP, send shot list.
- Ingest: Cards → mirrored backup (two drives, always) → rename → generate proxies → organize into bins by scene/take.
- Sync: Auto-sync via timecode or PluralEyes; drop synced clips into a “Selects” bin.
- String-out: Watch everything once, mark favorites (I/O ranges). Build a select timeline.
- Radio edit: Audio first — get the story, the interview, the VO locked.
- Picture edit: Drop B-roll, graphics, music. Stay on proxies.
- Rough cut deliverable: Upload to review platform, collect timestamped comments.
- Revise → picture lock: No more structural changes after this point.
- Color pass: Either you or a dedicated colorist; use scopes, not vibes.
- Audio mix: Dialogue first, then SFX/Music. Normalize final output.
- Export: Master + social cuts (9:16, 1:1, 16:9) from the same locked project.
- Archiving: Save a full copy of the project and assets to long-term storage with clear labels for future use.
Video post production workflow keyboard shortcuts
Using keyboard shortcuts is a simple way to edit videos faster. You can save a lot of time by not switching back and forth between your mouse and keyboard. Even learning a handful of shortcuts will make your work much quicker.
Timeline Navigation
- Spacebar — Play or pause the timeline.
- Home — Move to the beginning of the project.
- End — Move to the end of the timeline.
- + / – — Zoom in or out on the timeline.
- Shift + Z — Zoom timeline to fit.
- J / K / L — Shuttle backward / stop / forward.
- [ / ] — Trim start/end of clip to playhead.
- Ctrl/Cmd + B — Split at playhead.
- Ctrl/Cmd + R — Speed panel.
Editing Shortcuts
- Q / W — Delete left of playhead / delete right of playhead.
- Delete — Remove the selected clip.
- Ctrl + Z — Undo the previous action.
- Ctrl + Shift + Z — Redo an action.
- Ctrl + C — Copy a clip.
- Ctrl + V — Paste a clip.
- Ctrl + D — Duplicate the selected clip.
Project Management
- Ctrl + S — Save the project.
- Ctrl + N — Create a new project.
- Ctrl + O — Open an existing project.
- Ctrl + E — Export the finished video.
- Alt/Opt + G — Compound clip (group). CapCut’s answer to nesting; not the same shortcut as Premiere’s Ctrl+Shift+C, another cross-app foot-gun.
Remote Video Editing Workflow
Remote editing has become common for freelancers, agencies, and content teams. However, remote collaboration introduces new challenges.
- Communication becomes explicit. Your project naming, bin structure, and “who has the project file open” discipline have to be tighter.
- Version control matters. Shared project files, Premiere Productions, Resolve collaborative, FCP cloud, beat “emailing the PRPROJ back and forth” by a mile.
- Review cycles shift async. Frame.io isn’t optional in a remote setup — it’s the conference room.
- Save presets. If you create a color grade you like, save it. If you make a lower-third animation, turn it into a template. Stop repeating the same work.
- Bake in heavy effects, such as After Effects compositions, noise reduction, and stabilization, before your final export instead of during it.
Final Thoughts
Many editors believe they need better software, faster computers, or more advanced editing skills. In reality, the biggest problem is often the workflow itself.
Streamlining your video editing process helps you stay creative and reduces pressure. By keeping files organized, setting clear review steps, and maintaining backups, you can save a significant amount of time every month.
If editing feels like too much, don’t buy new gear. Focus on improving your process first. You will likely see much better results than you expect.